


Photo masks aren’t just for photos. They can be used in a variety of ways from overlays to brushes to design elements.
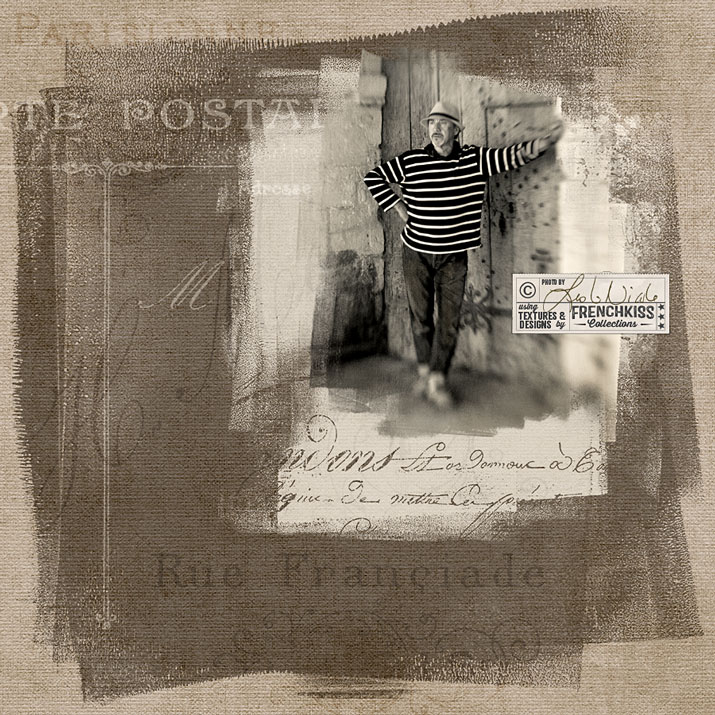
In the quick design below, I used 3 masks. One for the large background color block, one for the area behind the photo, and one for the photo.
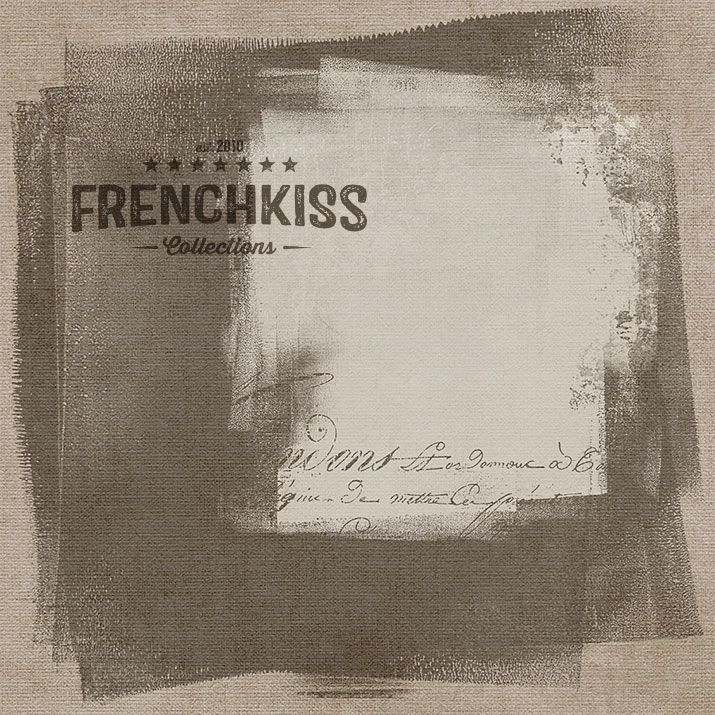
The Background Masks
The large background block mask is from the Brayered Blocks collection. The mask is set to Multiply and the color of the mask is changed with a solid color adjustment layer and a clipping mask. (See this tut for changing overlay colors.) By using gray as the mask color, I kept the color of the mask the same hue as the background paper, but deepened the tone. I could also have used a color for a different hue.
Then I used a free (for a limited time) photo mask also with a solid color adjustment layer with a clipping mask, but this time, I selected a blend mode of Screen. The color for the top mask is almost the same color as the bottom, but the different blend modes dramatically change the results.
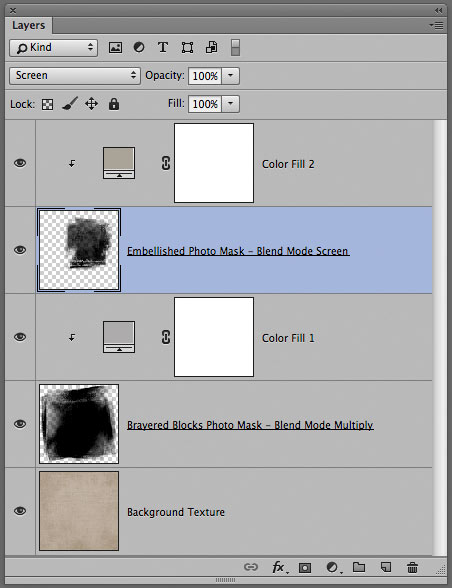
The Photoshop layer panel below shows the background masks with the solid color adjustment layers and clipping masks. (See this tut for changing overlay colors with clipping masks.)
The Photograph Mask
I also used a mask from the Brayered Blocks collection for the photograph. I resized the mask to be narrower. (See a tut for Using Photo Masks.) The photograph was taken with a Lensbaby Composer Pro with Double Glass Optic.
Additional Overlays
I also used 2 vintage French overlays.
- Carte Postale: Vintage French postcard backs. Blend Mode: Screen, Opacity 39%, Color: #cdc5b8
- Vintage French Photo Studio: Blend Mode: Linear Burn, Opacity 22%, Color: #8f8a83
Shop:


American Photographer and Designer living in France with my French husband, 2 Weimaraners and Cat Rescues. Camera, Mac, studio, garden.

You are so creative! I love your work and your products. Thanks for the great tutorials!
Thank you, Judy!
thank you for sharing i gained some new knowledge and technique! thank you very much