

In the last post, I showed you my set up for photographing an iris flower intended for my designs. In this post, I share my creative Photoshop filter explorations.
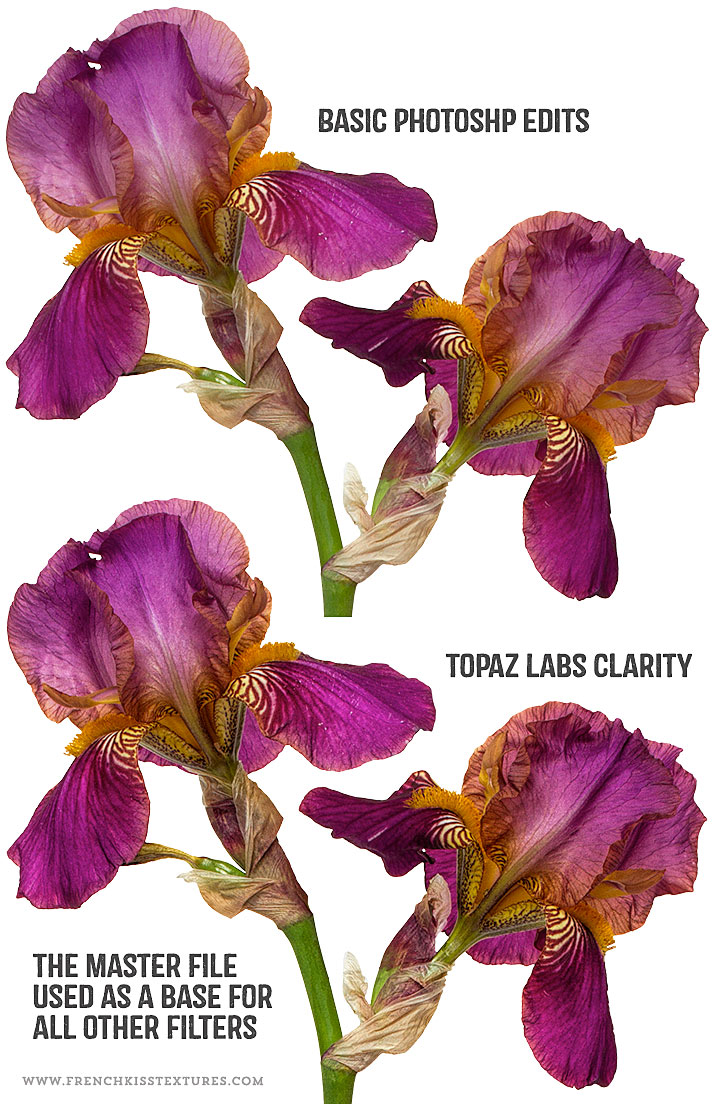
The Master File
I’m not going to go into great detail on my master file preparation - I’ll cover that in another post, but basically I do all my retouching, file cutout, and clarity work first so I have a good base to work from. For around 90% of my master files I like to use the *Topaz Labs Clarity filter. I’ll sometimes use the *Topaz Labs Detail filter or the Nik filters.
Creative Filters
After I have my cutout, retouched, and tuned master file, I start exploring different creative filters.
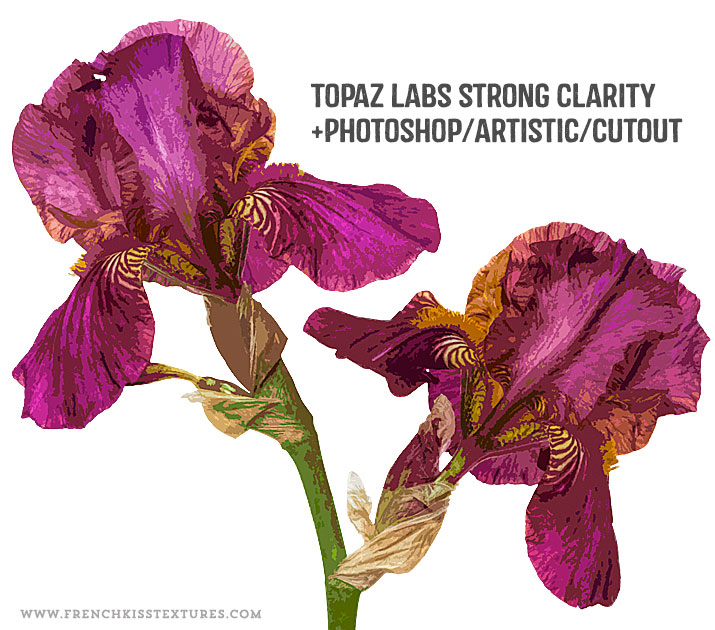
Filters Used For This Image:
- *Topaz Labs Clarity, Clean, Simplicity, BW Effects, and Impression filters.
- Photoshop’s Filters: Artistic/Cutout. Sketch /Conté, and Stamp.
Click for lightbox viewing

I’ll try to show you some of these in use in later posts. I played around with an interesting effect using the Photoshop /Sketch / Stamp version as a mask for a texture.
Resources
* *Topaz Labs Filters is an affiliate link. I get a small commission from any sales resulting from a click from this site (at no extra cost to you.) I really do love these filters. Nearly all of my own images use one of these filters. Thank you for supporting the site!

American Photographer and Designer living in France with my French husband, 2 Weimaraners and Cat Rescues. Camera, Mac, studio, garden.

Good Job!
Iris Flower With Photoshop Filters!
What wonderful effects, great work and good tips.
Sharon recently posted..Pluto Trigger – A Bluetooth Camera Remote using your smartphone!
This is such a great work of art. You did a good job !