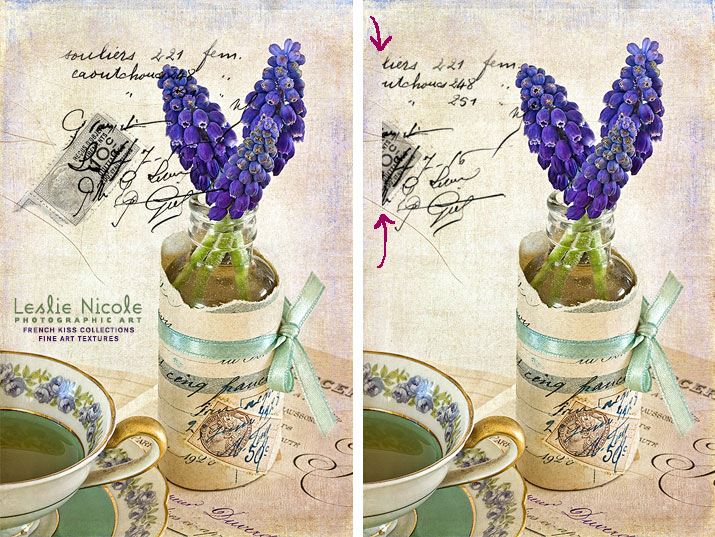
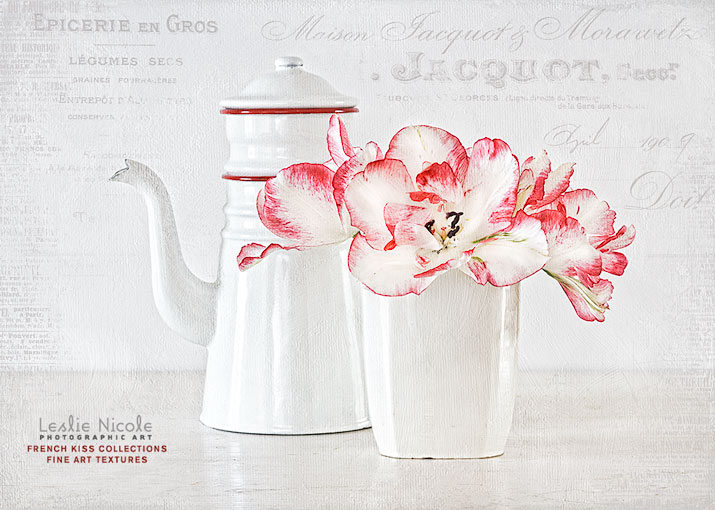
Textures nearly always need to be tweaked to fit an image, even it it’s a slight tweak. This example uses a Levels adjustment and Color Balance adjustment.


Textures nearly always need to be tweaked to fit an image, even it it’s a slight tweak. This example uses a Levels adjustment and Color Balance adjustment.
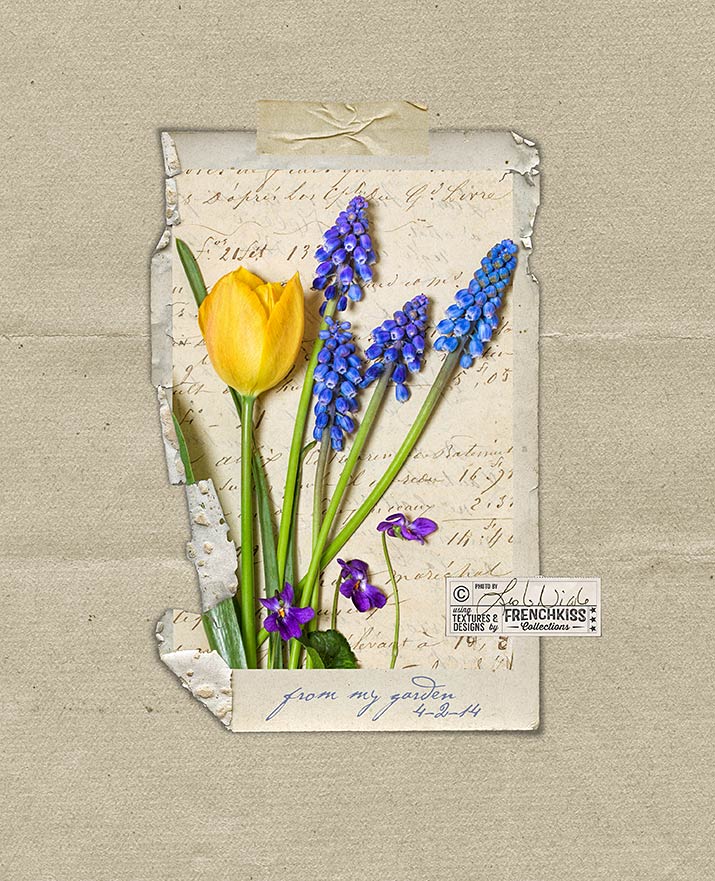
Example of how to change the color of your texture or digital paper. Also notes on image processing using filters and textures on a spring floral image.

Tips for changing the color of digital papers using Hue/Saturation in Photoshop and fine-tuning with Levels and Color Balance.

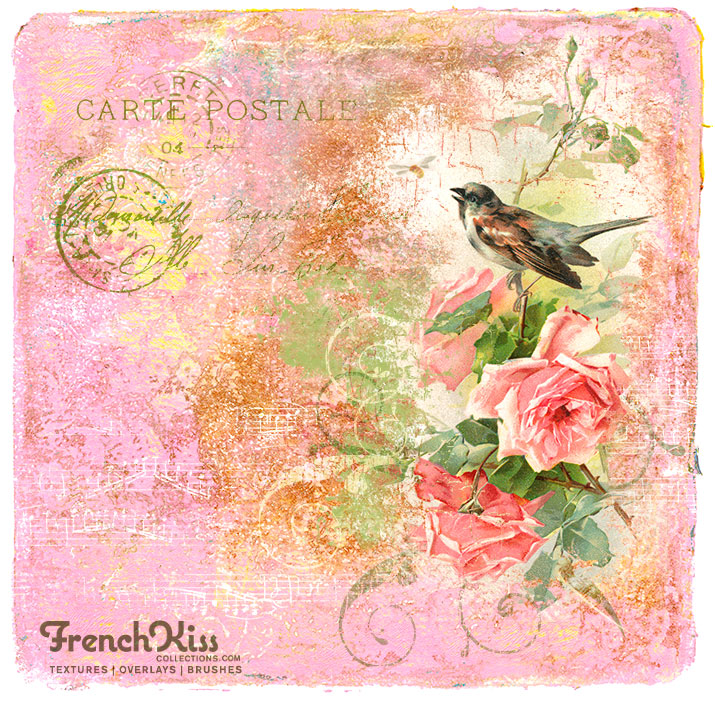
Wishing you all a wonderful day today! I want you to know how much I appreciate you. xx Leslie Made with a digital paper, frame and element from the Love Ya Collections.
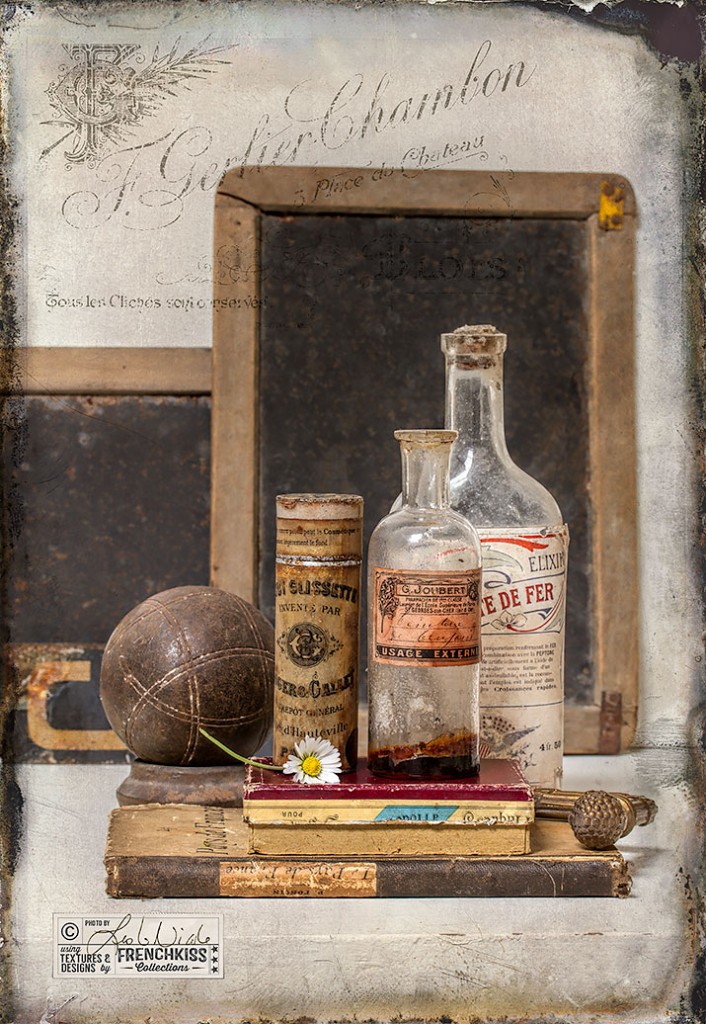
Using grunge brushes in the Photoshop layer mask is a great way to add aging and distressing to elements of a digital collage. My favorite brush happens to be Free!
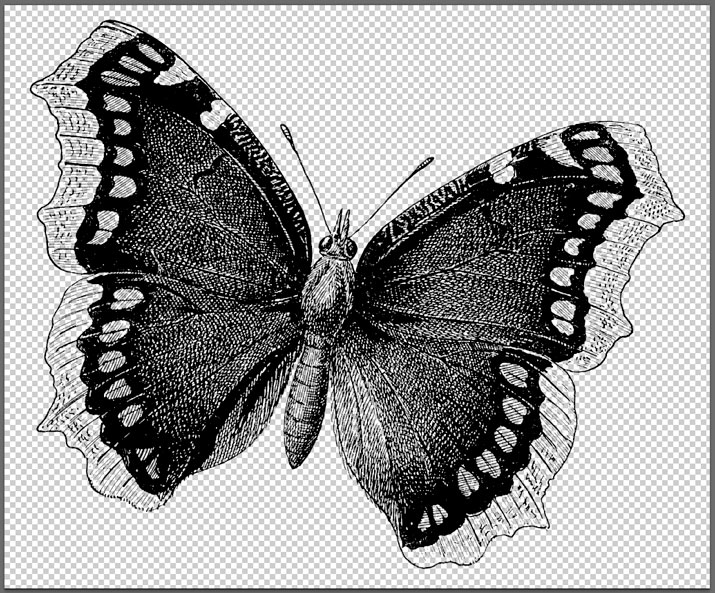
Two quick tips for using Photoshop brush stamps. Learn best practices for placement and color selection methods.

Maria has used the texture, l’Aube from the Artiste Collection in this delightfully fresh anemone photograph.
When using Vintage French Script Overlays and Photoshop Brushes, use the free grunge brushes in the layer mask to edit the overlay/brush to better suit your image.
Have you ever wondered what the difference is between Photoshop brushes and Overlays or how to use either of them? This post gives you the basics of the similarities, differences and has links to further information.
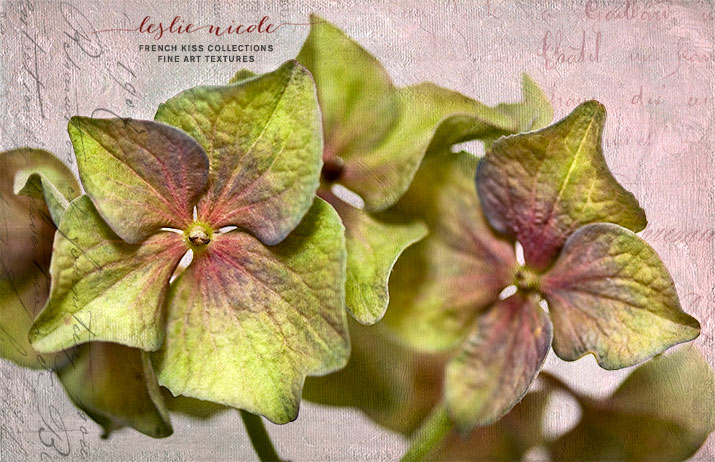
This week, I’ll be showing you examples of using vintage French script brushes and overlays. This macro of hydrangea petals is made with an overlay and textures from the Artiste collection.