

I’m sometimes asked what the difference is between the Watercolor Spot Textures and the Watercolor Photoshop Brushes so I thought I’d do a post on the differences and when to use which.
Watercolor Spot Textures
Watercolor Spot Textures are the scans of the original watercolor artwork so they have all the richness and variations in color of the original. Even when it’s an almost monochromatic original, there is a depth of hue and tone that you can’t quite get with a brush. (Note: yes, you can get variations in tone using a brush with clipping masks, but the color won’t have the same feel of an original watercolor. Subject for a future post!) Use the Spot Textures as you would a normal texture and in combination with textures.
For more information on using the Watercolor Spot Textures, see this 2 part tutorial.

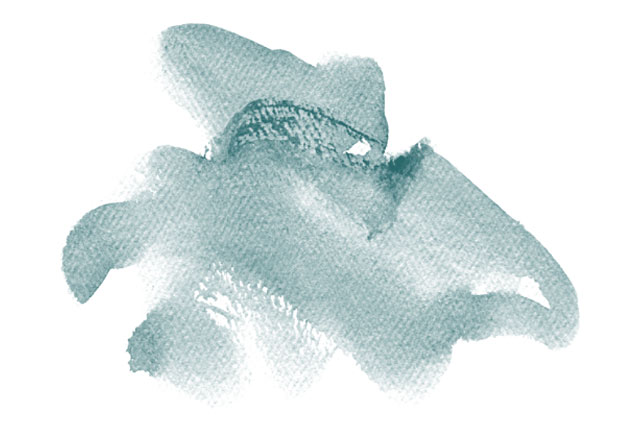
Spot Texture. Note the rich colors
Photoshop Watercolor Brushes & Overlays
The Watercolor Photoshop Brushes brushes are made from optimized grayscale copies of the original watercolor scans. (Note: you could make the brushes yourself from the spot textures if you want to spend the time and feel comfortable with the process. Future post!) You would generally use the brushes to get a softer, monochromatic wash effect. These can be lovely for designs and background enhancements.
Tips For using the brushes / Overlays:
- Stamp the brush on it’s own layer. Center it and then move to the desired location so that parts aren’t cut off by the document edge.
- You will generally want to use a blend mode of multiply or linear burn when using over a background.
- If you re-size the brush/overlay, you will want to apply some sharpening to the layer. I’ve found in my testing that they can be enlarged quite a bit. About 200%. You’ll want to do your own testing for your usage.
- The Photoshop brushes come with .png files if you prefer to use overlays.
- Watch this video for more tips on loading and using Photoshop / Elements brushes.
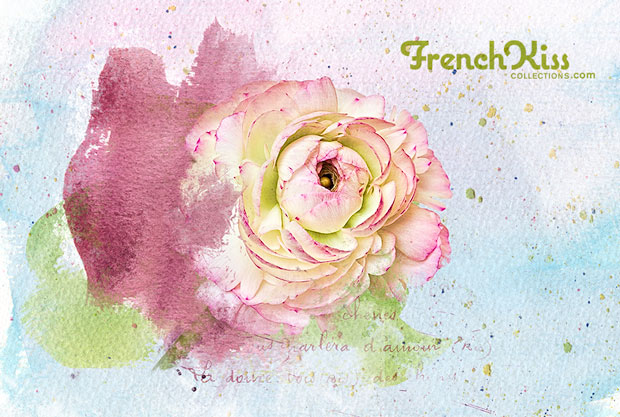
Watercolor Brush / Overlay
Examples of Spot Textures
Use Watercolor Spot Textures in combination with textures, backgrounds and overlays to create a focus of interest.
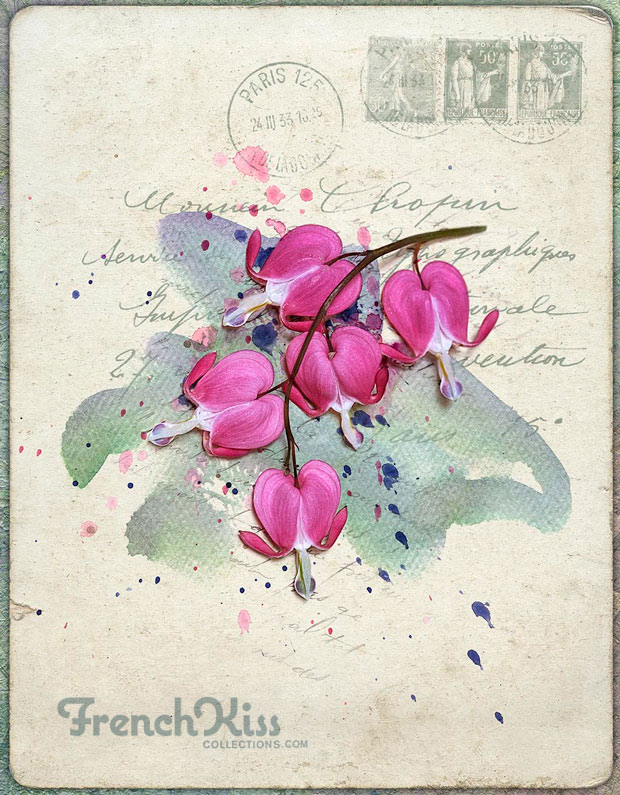
Spot texture and color spatter overlay.
Combine Watercolor Spot Textures to create impressionistic art.
Uses 3 Spot Textures
Use Watercolor Spot Textures for designs. Here, I’ve cropped a texture for a web post advertisement.

Examples using Watercolor Brushes
Read more about this image in this Before & After.

Using a Watercolor brush (and a wee bit of texture).
This is the Château de Chinon in the Loire Valley France. I’ve used Watercolor Photoshop Brushes in the layer mask. (Future tutorial for this technique.)
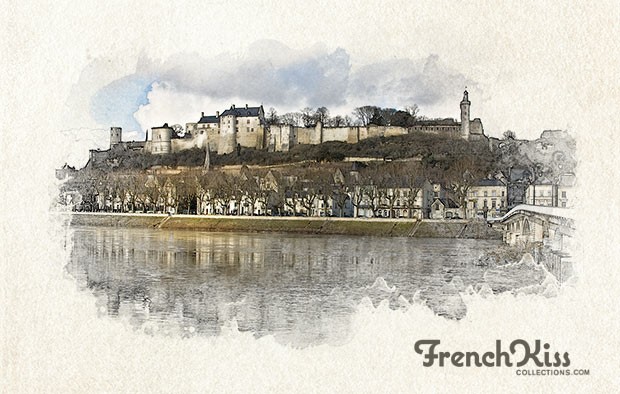
Watercolor brushes can be used as masks.
In the banner below, I used Watercolor Photoshop Brushes (watercolor and dry brush) to enhance the background and mask the vintage image.

Use watercolor brushes to enhance a design.
Combine Elements
It gets fun when you start combining elements. Below is a “doodle” where I’ve combined a watercolor texture (Autumn Rain collection), Watercolor Spot Textures, Watercolor Photoshop Brushes, Color Spatter overlays, A FREE grunge brush, and a French Script brush.

Combine elements
It’s all good. 🙂
All photographs and art © Leslie Nicole. Please don’t use, but feel free to pin!

American Photographer and Designer living in France with my French husband, 2 Weimaraners and Cat Rescues. Camera, Mac, studio, garden.
