

Here is an alternate design from the previous post, this time using textures with the masks.
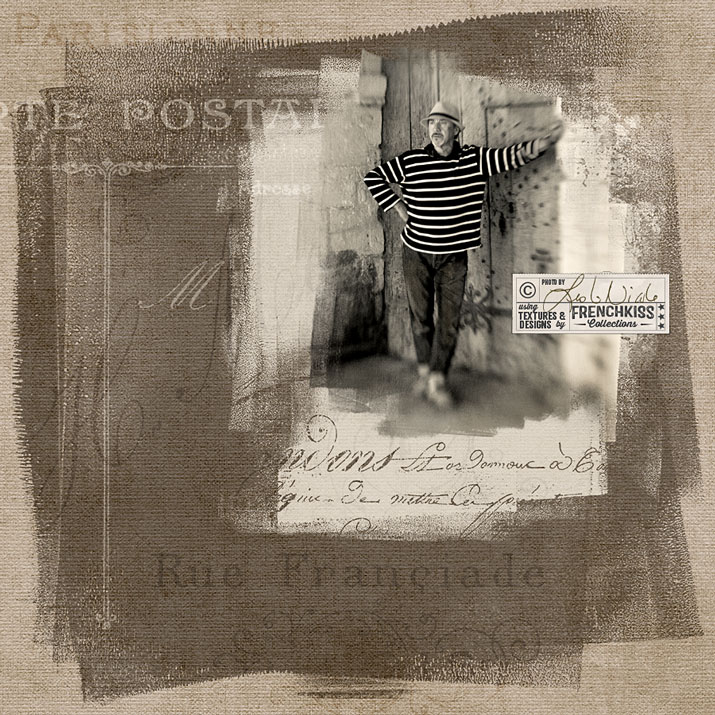
Previous Post Design
Using Masks With Textures
In the quick design below, I’ve used 3 masks. One for the large background textured block, one for the textured block behind the photo, and one for the photo. Whereas in the previous design I used the masks as blended, toned, overlays— this time I used them with textures.
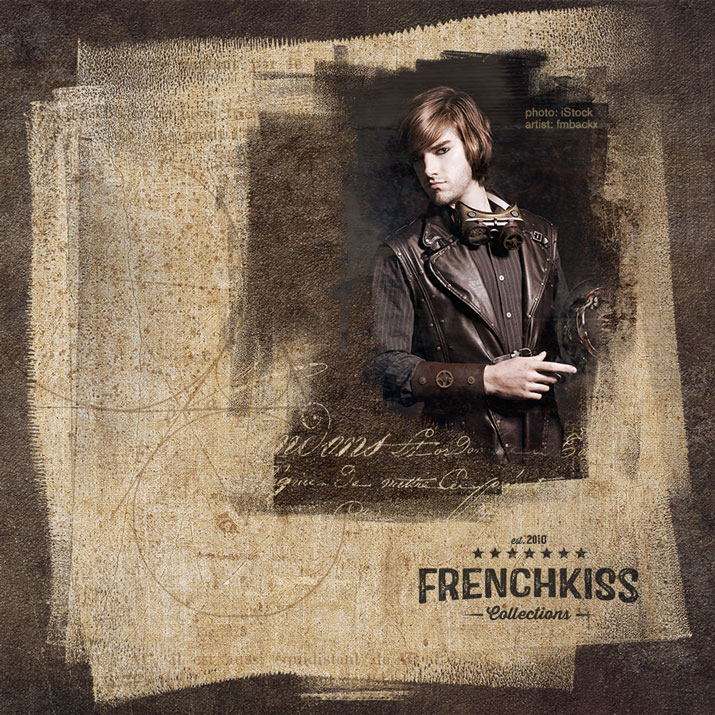
As I was playing around with an alternate design from the previous post, I tried out the overlay from the Geometrie 1912 brushes and immediately thought of a Steam Punk inspired design. As I don’t have any steam punk images, I purchased the usage (for this demo) of this dashing steam punk model from iStock Photo by artist contributor: fmbackX.
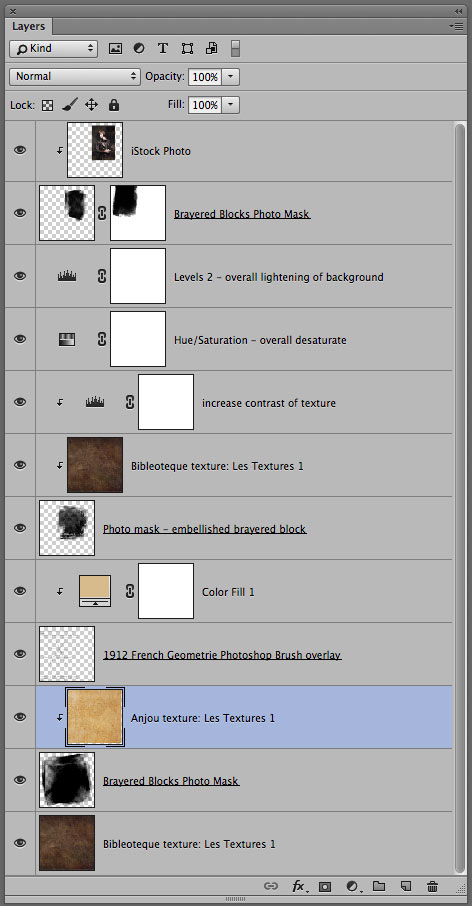
The Layers
Here’s a peek at the layers for this design. Descriptions are from the bottom up. (bullet #1 is the bottom layer.)
- Background Texture: Bibliotheque from Les Textures 1 collection.
- The large, textured background block mask is from the Brayered Blocks collection. Blend Mode: normal, Opacity: 100%.
- Texture clipped to the background mask: Anjou from Les Textures 1 collection. Blend Mode: normal, Opacity: 100%.
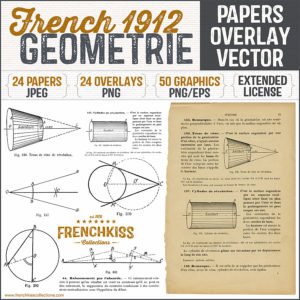
- Vintage French Geometry Overlay: Geometrie 1912 Photoshop brushes (overlay bonus) Blend Mode: Multiply, Opacity: 100%.
- Solid Color Adjustment Layer applied as a clipping mask to change the overlay color. (See this tut for changing overlay colors with clipping masks.)
- Embellished Brayer Block Mask: free (for a limited time) photo mask . Blend Mode: normal, Opacity: 100%.
- Texture clipped to the mask behind the photo: Bibliotheque from Les Textures 1 collection. Blend Mode: normal, Opacity: 100%.
- Levels adjustment layer applied as a clipping mask to lighten the texture.
- Hue/Saturation adjustment layer for overall desaturation of the background layers.
- Levels adjustment layer for overall lightening of the background layers.
- Photo mask from the Brayered Blocks collection for the photograph. I resized the mask to be narrower. I also used a dry brush stroke in the layer mask to change the mask slightly in the left side.
- Photo: steam punk model from iStock Photo by artist contributor: fmbackX.
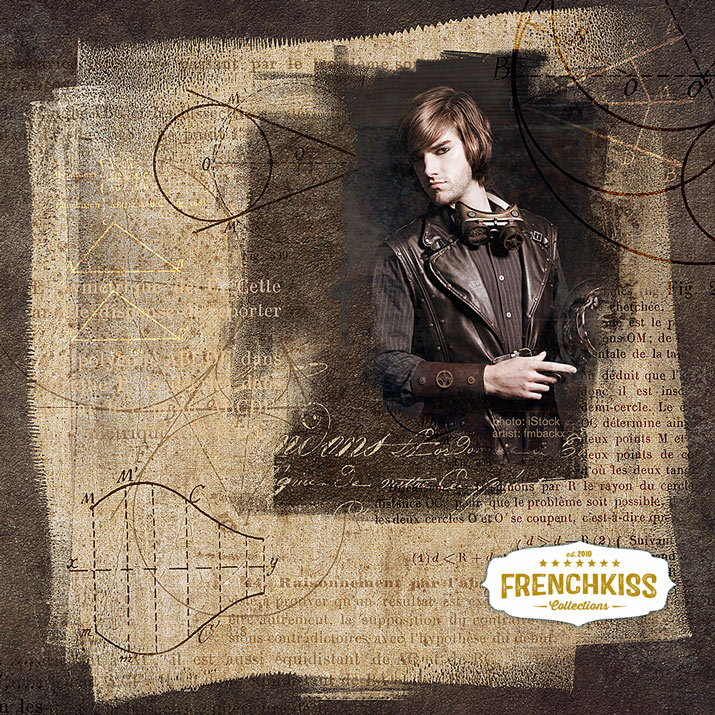
Note: I updated this design with more graphics from the 1912 French Geometrie collection.
Shop:


American Photographer and Designer living in France with my French husband, 2 Weimaraners and Cat Rescues. Camera, Mac, studio, garden.

Hi Leslie,
Is there a tutorial that would help me with resizing the Textures to match an image before the blending process begins? For example, I have difficulty with matching a landscape to a portrait view or with a high res Texture with a low res image. Also, I would like to know how to use (1) part of a texture and (2) the whole of a texture.
Really love your website and your designs. Many thanks, Sara Waldburg