When photographing in an environment, the Depth of Field will affect how the texture shows. Here are some tips to help texture beginners.
Shallow Depth of Field
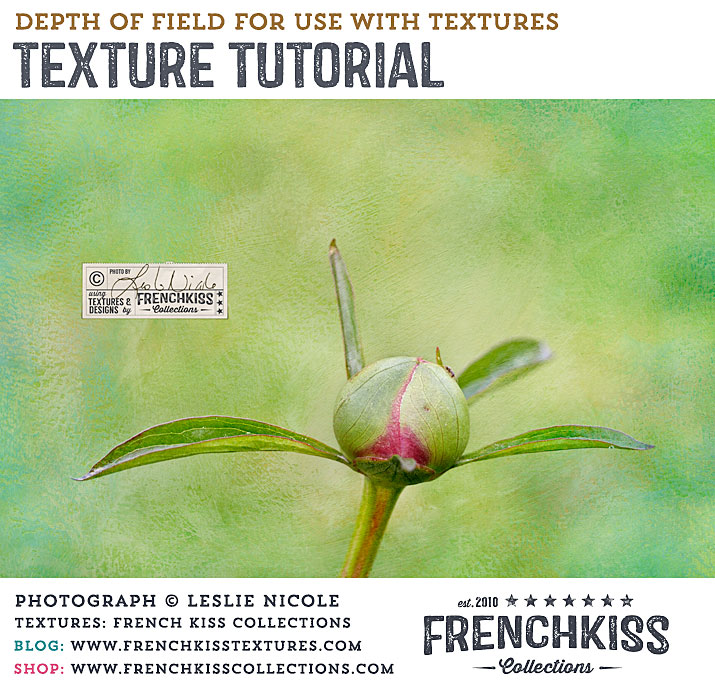
I’m often asked how I cut out my flowers from the background for texture usage. What I eventually came to realize is that sometimes when texture beginners see an image like the one above, they imagine that I have selected the flower and pasted it onto the texture background. Actually, I rarely ever make a complete selection of a flower and then use a texture as a back drop. Normally, the texture is placed above the image and then a blending mode is chosen that allows the texture to blend with the image. When there is very little background detail in the photograph — either through depth of field or photographing against a backdrop—then the texture shows up more because it’s not competing with the background.
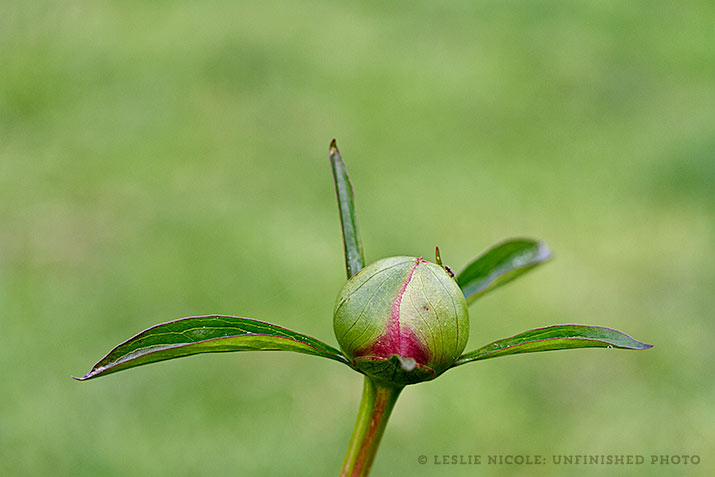
The Original Photograph
Photograph details
- Canon 7D
- Canon 60 mm macro lens
- ISO: 250, 1/1000 sec, f/3.2
- Note: the photograph is a little darker than normal as the texture will lighten it.
The shallow depth of field of f/3.2, the macro lens, and the background being fairly distant from the bud all contribute to make a background that is blurred.
The Texture
This is a painted texture from the Spring Impasto Collection.
Texture details
- Blend Mode: Soft light. When using an image with a colored or toned background, the Overlay or Soft Light blend modes for the texture usually work well.
- Opacity: 89%. Depending on the texture, the original, and the effect desired, the opacity needed can vary from 10% to 100%. Be sure to slide the opacity back and forth to determine what works best.
- Layer Mask: I only masked the texture slightly on the bud itself. See the Layer Mask in the Layer Panel below. I did no masking on the leaves or background.
- the texture is desaturated a bit and the contrast increased. When combining textures with a colored background, sometimes the combined colors of the texture and background can become over-saturated. Try de-saturating the texture a bit. Especially in the color channel closest to the background color. I desaturated the yellow channel more so that the yellow in the green was toned down. Sometimes taking the texture all the way to grayscale will work best.
The Layer Panel
Note how the layer mask has slight masking only on the peony bud itself. Using a photograph with the appropriate background for the effect you want is much easier and looks much better than trying to cut a flower out of a busy background. There are times you may choose to completely cover up the background, but it’s definitely easier to start with a simple background if that is the look you want. Especially if you want the texture to take over as the background.
There are times you may choose to completely cover up the background, but it’s definitely easier to start with a simple background if that is the look you want. Especially if you want the texture to take over as the background..
An Image With More Depth Of Field
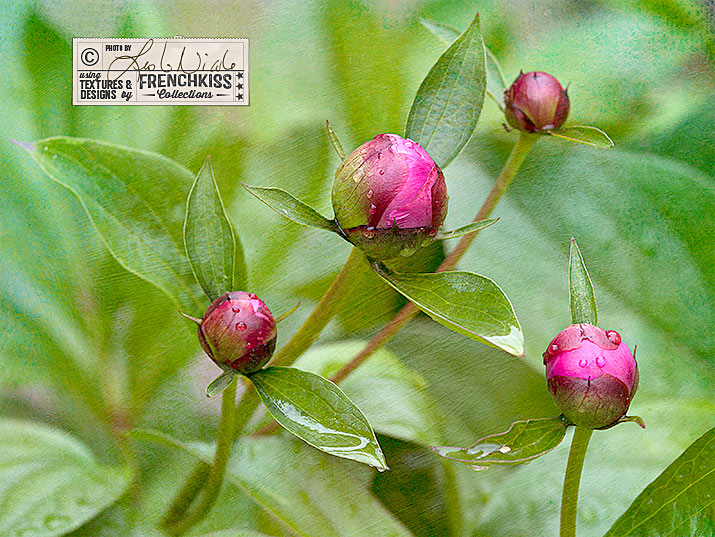
Compare to this photograph of peony buds that has more depth of field. The texture, blend mode, and opacity are all identical to the peony bud above. Now, there is nothing wrong with more background showing. It’s just a different effect.
Try It Yourself
Photograph an object in an environment. Could be flowers in a garden or a person against an environmental background. Try photographing using different f-stops for different blurs.
Note: other things that will affect the background blur are:
- How close you are to the subject. The closer you are, the less depth of field. (More background blurring.)
- How far away the background is from the subject. The further the background from the subject, the more blurred it will be. So, for instance, if you photograph a person right up against a stone wall, the stone wall may be fairly sharp and have a lot of detail. If you have them step forward from the stone wall by say 10 feet, and you use a low-numbered f-stop, the background will be more blurred.
- Remember, low numbered f-stops like 3.2 will result in less depth of field than higher numbers such as f. 16.
- Tip: Take some tips from master floral photographer, Jacky Parker. If you need to get a flower further away from the background, you could clamp it to your tripod or move a potted plant around in front of other plants in the background.
Shop
American Photographer and Designer living in France with my French husband, 2 Weimaraners and Cat Rescues. Camera, Mac, studio, garden.





I love this the color is gorgeous and thanks for the tutorial as to how you created this one.
I’m so happy I stumbled across your site – thank you for sharing your wonderful talent through your informative tutorials and beautiful textures and masks.
I look forward to testing out my (very amateur) new skills in PS very soon! 🙂
I have been envisioning how to create this effect, and I stumbled upon you site. Thank you for sharing. Is there a way to contact you for your advise and or tutorials. This technique has been my dream and currently shooting only out of the box, no photoshop experience, yet I sell my work quite a bit. I would like to add this catagory to my website. It is beautiful. Thank you for sharing.
Thank you, Deborah. The best would be to stop by the Facebook and post your images and ask questions there. Thanks!
LESLIE
What program do you use to create your textures?
Hi Ruth. Pretty much all Photoshop – although the elements used to bring into Photoshop are either photographed from found surfaces such as old walls or scanned vintage or painted/drawn artwork. Oh, I also use Lightroom and various Photoshop filters as well to enhance contrast, etc.