Frame Tie-Ups are a fun way to add a bit of whimsy to your digital designs. While they are super-simple to use (just place over the frame layer and re-size!) here are a few best-practice tips.
- Don’t distort them too much. While you can get away with some distortion, be careful not to go too far. To maintain the proportions, hold down the shift key while you use the transform tool. Learn more power tips for using the Transform Tool in this video.
- Leave a little space at the edges. Don’t place the tie-up too tightly on the frame. Leave a little room on the edges so that it looks like it’s wrapping around.
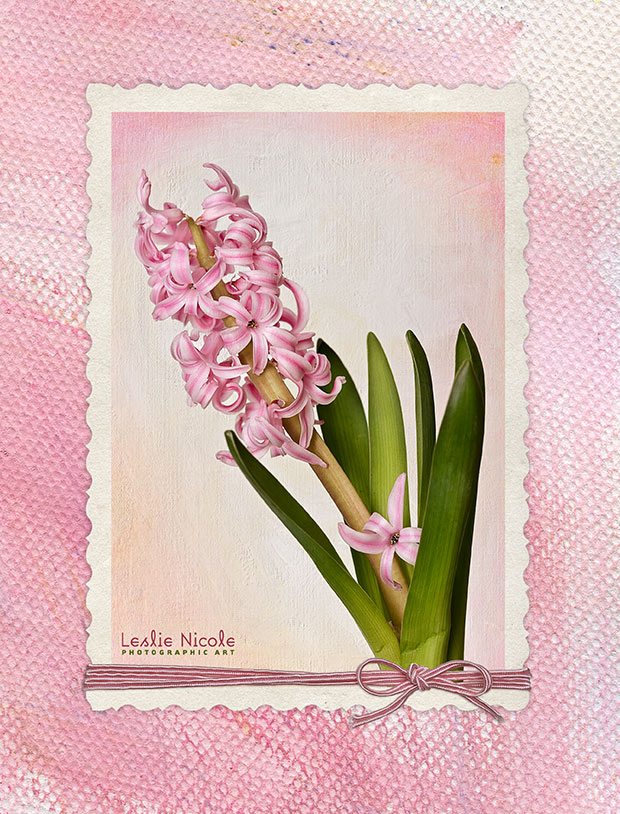
- Go easy on the drop-shadow. Adding a tiny bit of drop-shadow to the tie up creates depth, but you really need to use restraint or it gets ugly, fast. I advise not going over 30% opacity, and using just a tiny bit of distance and size. In the example above, I used an opacity of 30%, A distance of 4 and the size is 8. Image size will change the numbers on this.
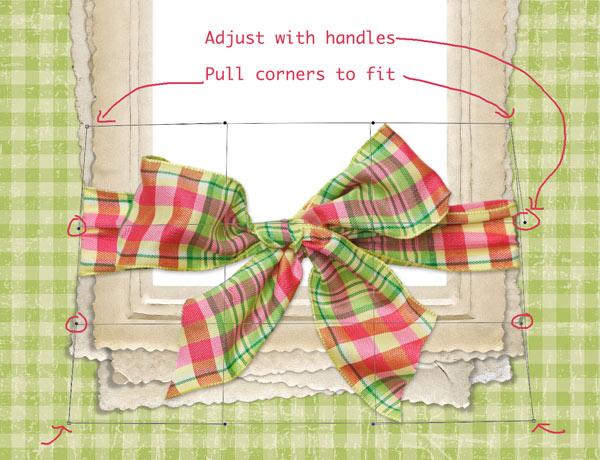
- Warp To Fit if Needed. While it won’t matter much with the skinny tie-ups, I’ll soon be releasing thicker bow-ties. To fit a stacked frame, you may need to warp the edges of the tie-up to look like it’s actually wrapped around the frame. To warp, First activate the transform tool, (command or control + T), re-size to fit the frame holding down the shift key to maintain the proportions, then hold down the control key and select the Warp feature of the transform tool. Then, use the corner handles and angle handles to fit the tie-up to the frame.
Resources
Tulip Image
- The tulip image uses the Crème Fraîche texture from the Tableaux collection and Ebullience and Dawning from the Solstice Collection.
- The background is Love Ya from the Studio No. 1 collection.
- Tie Up is from the Frame Tie Up No. 1 collection.
- Frame to be released.
Plaid Bow Image
- Frame is from the Vintage Frames No. 2 set.
- Background is a soon to be released digital paper.
- Bow is a soon to be released Tie Up collection.
Leslie Nicole
American Photographer and Designer living in France with my French husband, 2 Weimaraners and Cat Rescues. Camera, Mac, studio, garden.


