

This is part 2 of the 4 part tutorial on creating this photo illustration effect. (Part 1 is an overview of the entire tutorial.)
Choosing and Preparing The Color Image
This post is divided into 3 parts.
- Choosing and preparing an original image.
- Examples of the original image using different filter effects.
- Those filter effects used in the photo illustration.
Choosing An Image
This technique seems to work best on images with a fair amount of detail, particularly detail along the edges of the image. Travel images often work well.
Basic Image Processing
Do any basic image processing such as exposure corrections that you normally do. I won’t cover basic image processing in-depth in this tutorial, but I have included notes about this image.
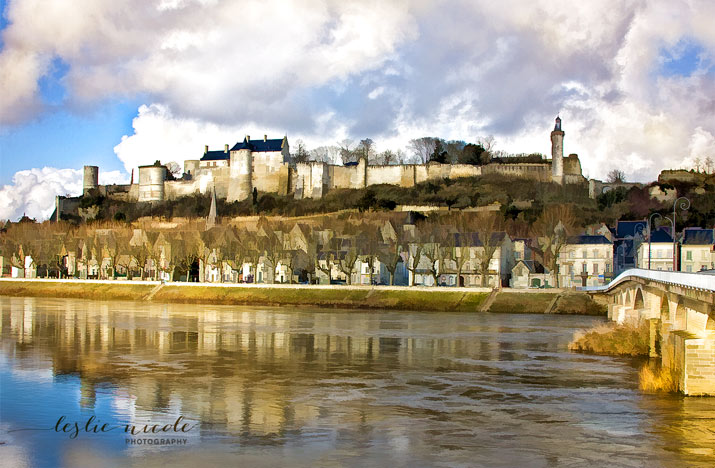
My original image
Below is the SOOC photograph I took of the Château de Chinon in France. Actually there may have been a bit of exposure adjustment in Lightroom, but it’s pretty close to SOOC.
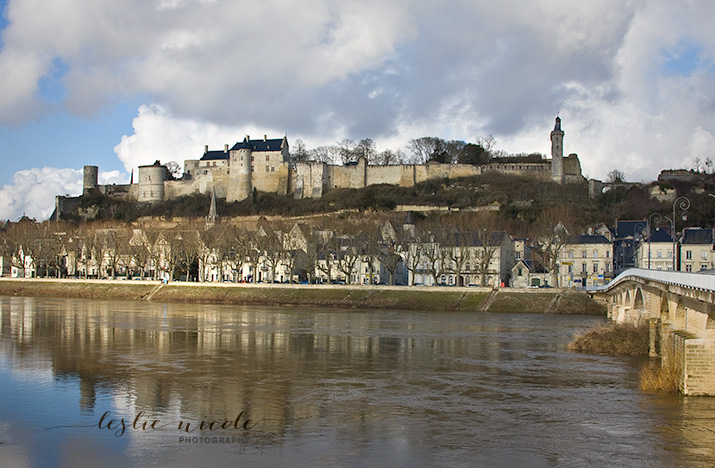
Original Image before post processing.
Final Processing.
This is with dodging to bring out the luminous quality of the stones on the castle and slight color overlays applied with brushes to enhance the touches of gold. I also applied Topaz Lab’s Filter, Detail*.
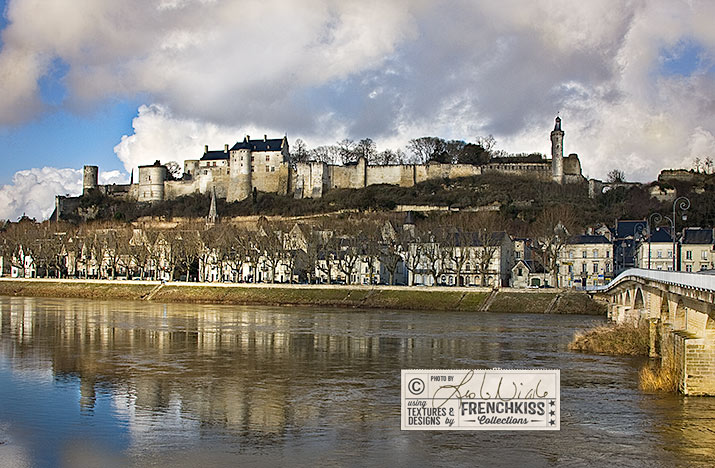
Processed Image
Retouching
Since my goal was a vintage/artistic effect, I desaturated or retouched out minor details that looked too modern such as visible, bright colored signs and cars.
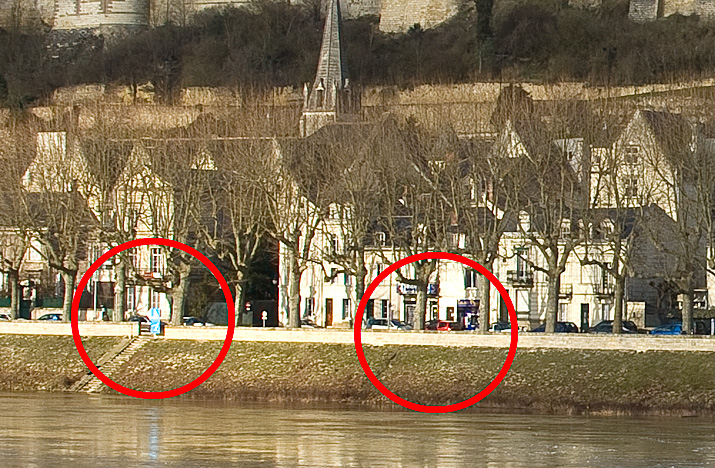
Zoomed in view of areas to desaturate or retouch.
Creative Processing
You may wish to enhance the photo illustration effect by doing further creative processing to the color image. A great way to add more of an illustration effect is with 3rd party Photoshop filters. Some of the results below may be too stylized for stand-alone photos, but I wanted you to see the originals as well as the effect when combined with the illustration.
Filter Forge
In the last post, I showed an example of using a filter in Filter Forge with this image. I used the Paint HDRtist filter by Filter Forge contributor, lipibianc.
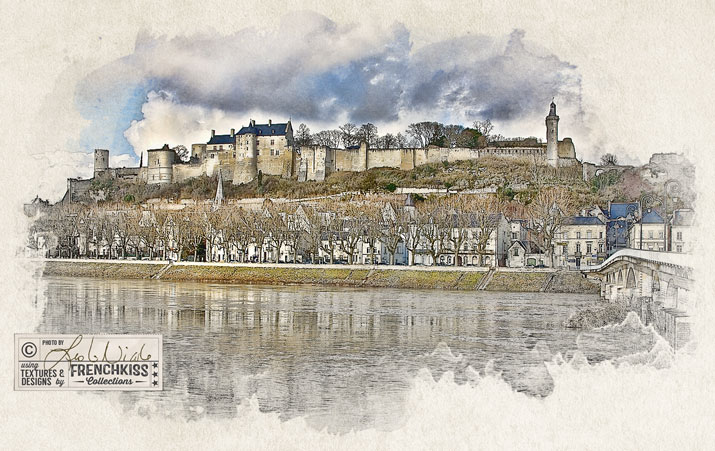
Topaz Labs Simplify
Below, I used the Buz Sim preset in Topaz Labs Simplify.* They do have a watercolor preset, but I haven’t managed to get results I like yet.
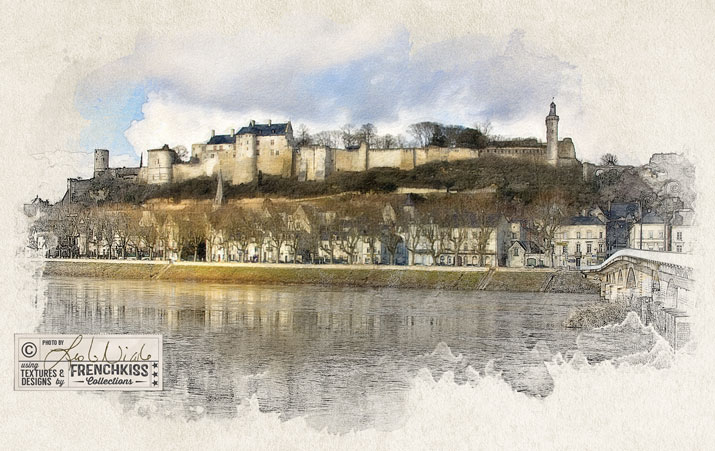
Alien Skin Snap Art
I haven’t been using Snap Art long, but I’m loving it so far. I used the Detailed Watercolor preset in Alien Skin’s Snap Art filters.
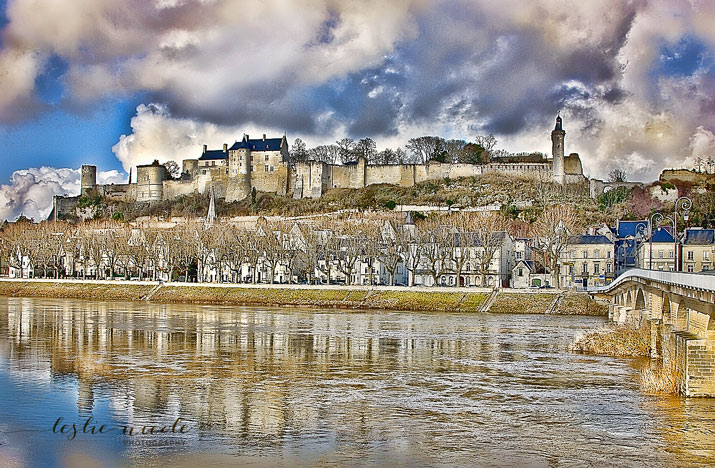
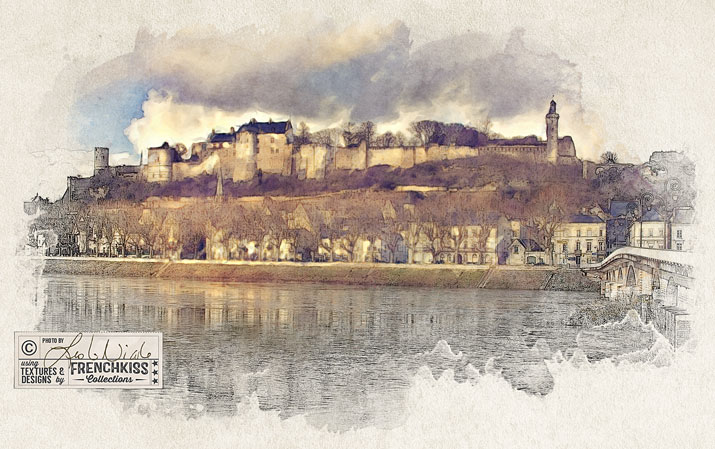
Topaz Labs Adjust
Finally, I thought I’d try Topaz Labs Adjust*. I used the HDR Sketch Light preset. Although the following example looks a bit too harsh for a stand-alone photo, as part of the photo illustration (see Final Comparisons below) it works.
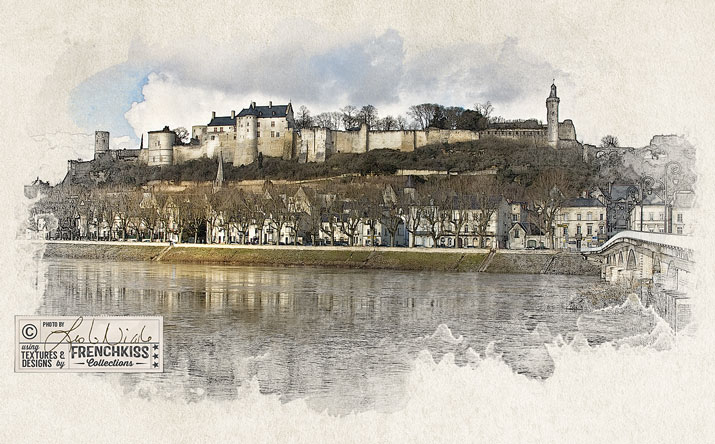
Final Comparisons
Original Processing
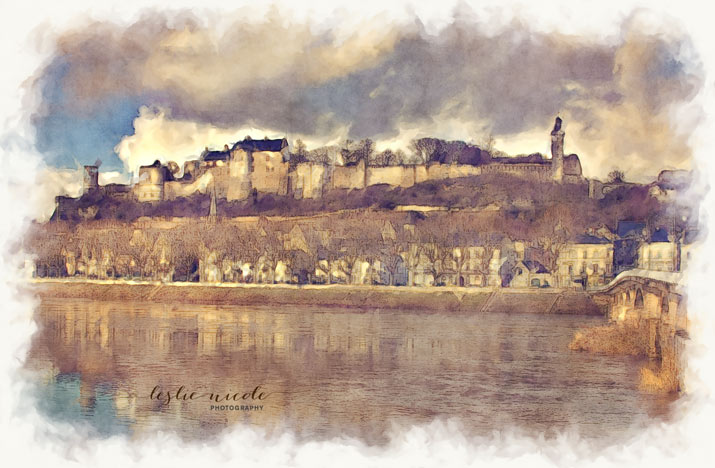
Filter Forge
Paint HDRtist filter
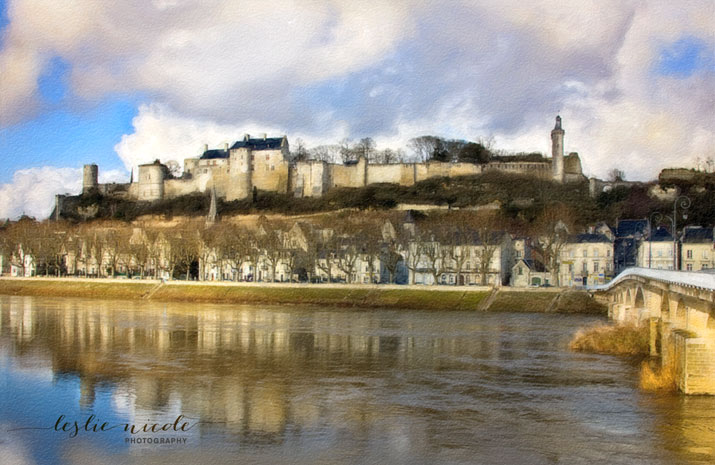
Topaz Labs Simplify
Buz Sim preset with adjustments. I increased the details setting.

Alien Skin Snap Art
Watercolor – Detailed preset.
Topaz Labs Adjust
HDR Sketch Light preset.
Which version do you prefer?
Creating A Photo Illustration Effect Using Watercolor Brushes. A tutorial in 4 parts.
- Part 1: An overview of what will be covered.
- Part 2: Preparing the Color Photograph. (This post)
- Part 3: Creating the Black and White Line Illustration.
- Part 4: Putting it all together and using the watercolor brushes.
* Topaz Labs Filters is an affiliate link. I get a small commission from any sales resulting from a click from this site (at no extra cost to you.) I really do love these filters. Nearly all of my own images use one of these filters. Thank you for supporting the site!

American Photographer and Designer living in France with my French husband, 2 Weimaraners and Cat Rescues. Camera, Mac, studio, garden.

Great instruction Leslie, can’t wait to try this method!!!
Great! I’ll get the final part out soon.